Why are my philodendron birkin Leaves CURLING? Solve now!!
Are your philodendron birkin leaves curling? Do you ever think of whether it is normal for leaves to curl and why they are getting curled? You may find it worrying. But don’t be afraid when this happens. It can be treated easily by following a few remedies.
Philodendron Birkin leaf curling can be caused by dehydration, temperature stress, insect infestation, lack of nutrition, poor soil quality, over-watering, and so on. To cure the problem you have to maintain a watering schedule, good quality soil, sufficient fertilizer, and other remedies according to the causes of curling.
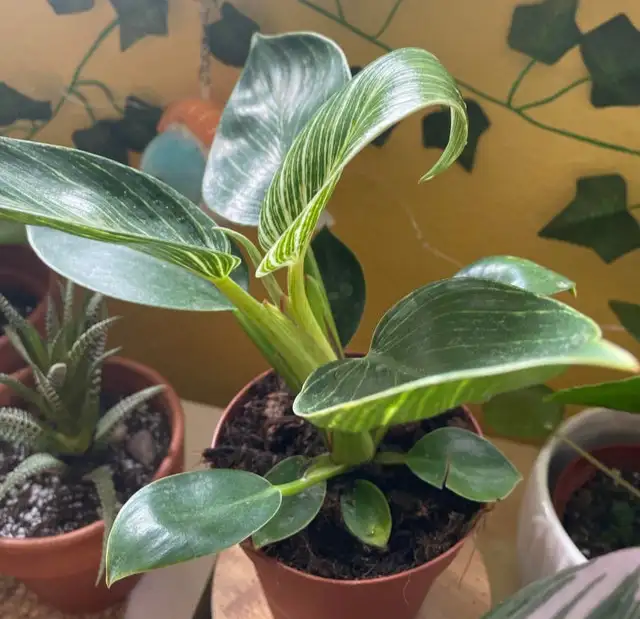
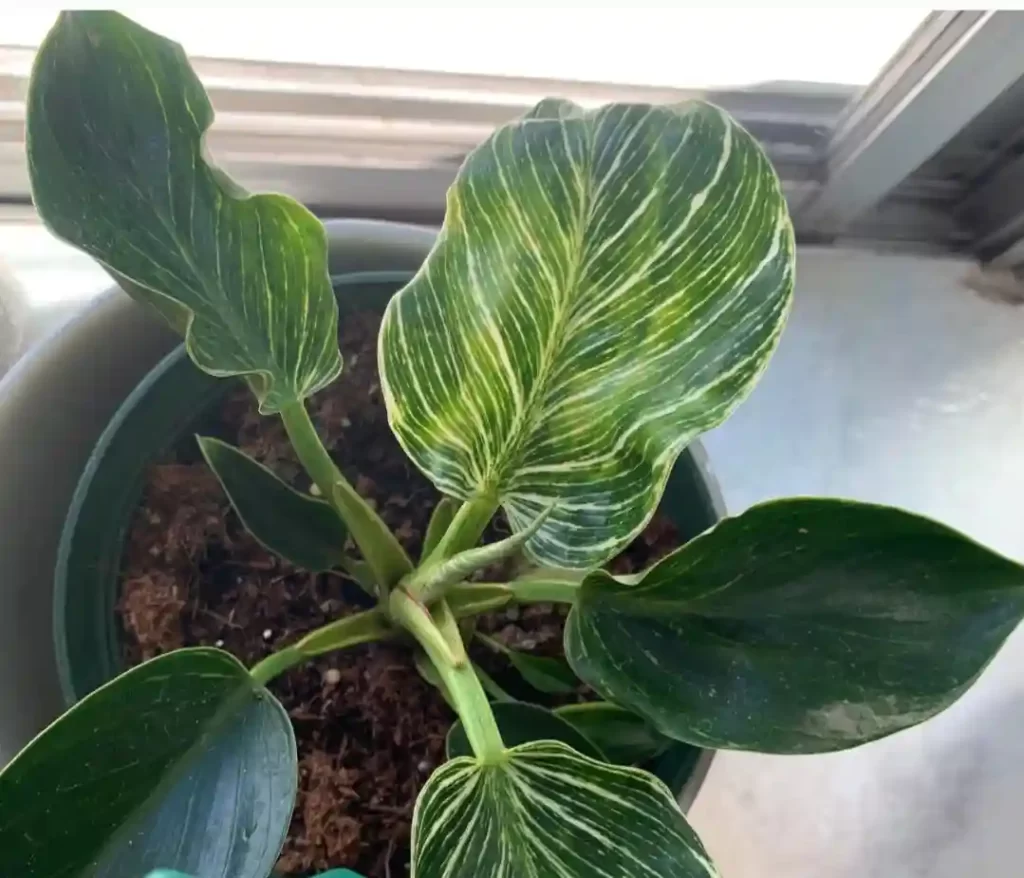
Philodendron birkin has a beautiful appearance with white and green pinstripes. But it is very disheartening if the leaves start to curl. Now let’s discuss the causes and their remedies in detail.
Philodendron birkin overview
| Common name | Philodendron Birkin |
| Native | Central America (original species) |
| Family | Araceae |
| Plant type | Perennial, tropical |
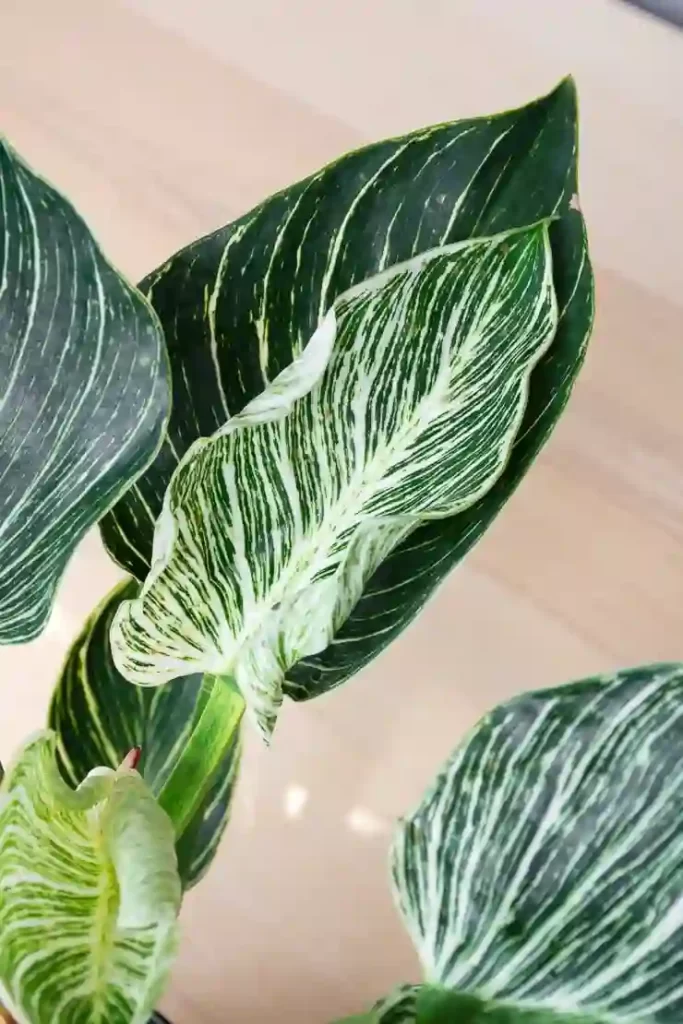
| Foliage type | Waxy and deep green with light white and yellow stripes |
| Growing time | Very active growth in spring and summer. |
| Mature size | 1.5-3 feet in height and spread out up to 2 feet |
| Sun exposure | Partial |
Is it normal for Philodendron Birkin’s leaves to curl?
No, it is not normal.
Nowadays many owners of this plant find the curled appearance lovable and call it cute. But it is not normal to bend the leaves. Sometimes, the yellowing of philodendron birkin leaves can be natural, but the curling of the birkin leaves can not be natural.
The curled birkin leaves can be a sign that the plant is facing some trouble and stress and needs some special attention. The birkin leaves get curled when they try to protect themselves from these stresses.
Types of philodendron birkin’s leaf curling
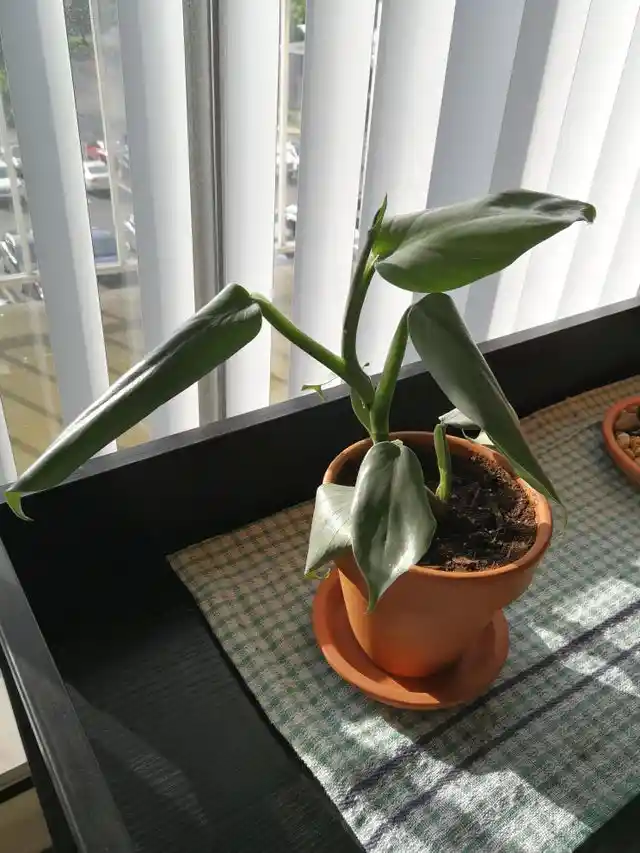
There are two types of leaf curling seen in philodendron birkin. They are-
- Inward leaf curling.
- Upward leaf curling.
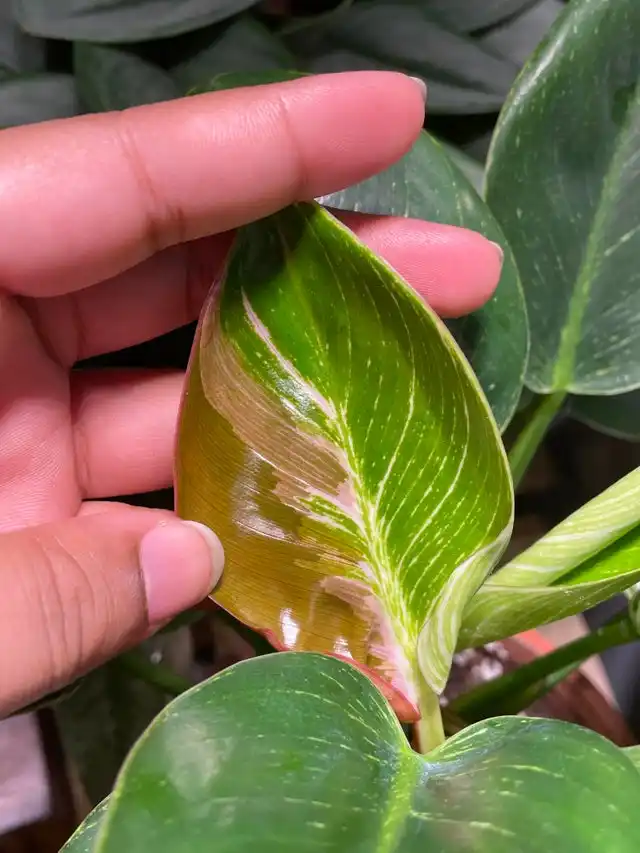
a) Inward leaf curling: In this type of curling problem, the edges of leaves begin to curl downward of the leaves. Usually, this inward leaf curling is happened due to over-watering or, under-watering, dry soil, etc.
b) Upward leaf curling: In this type of curling, the edges of leaves begin to curl upside of the leaves. Usually, this upward leaf curling is happened due to heat stress, infection by whiteflies, dry air, etc. Excessive heat stress causes rapid evaporation and leaves curl upside to conserve moisture. Again, the whiteflies transmit the yellow leaf-curl virus which prompts the leaves to curl upside.
Causes of philodendron birkin leaf curling and their solutions
Philodendron birkin has a fresh appearance with an incredible white and green pinstripe on the leaves. But the leaves become curling which means that something is not quite right.
Philo birkin leaf curling can be caused for several reasons. Let’s have a look at it with their remedies.
Unmaintained watering system
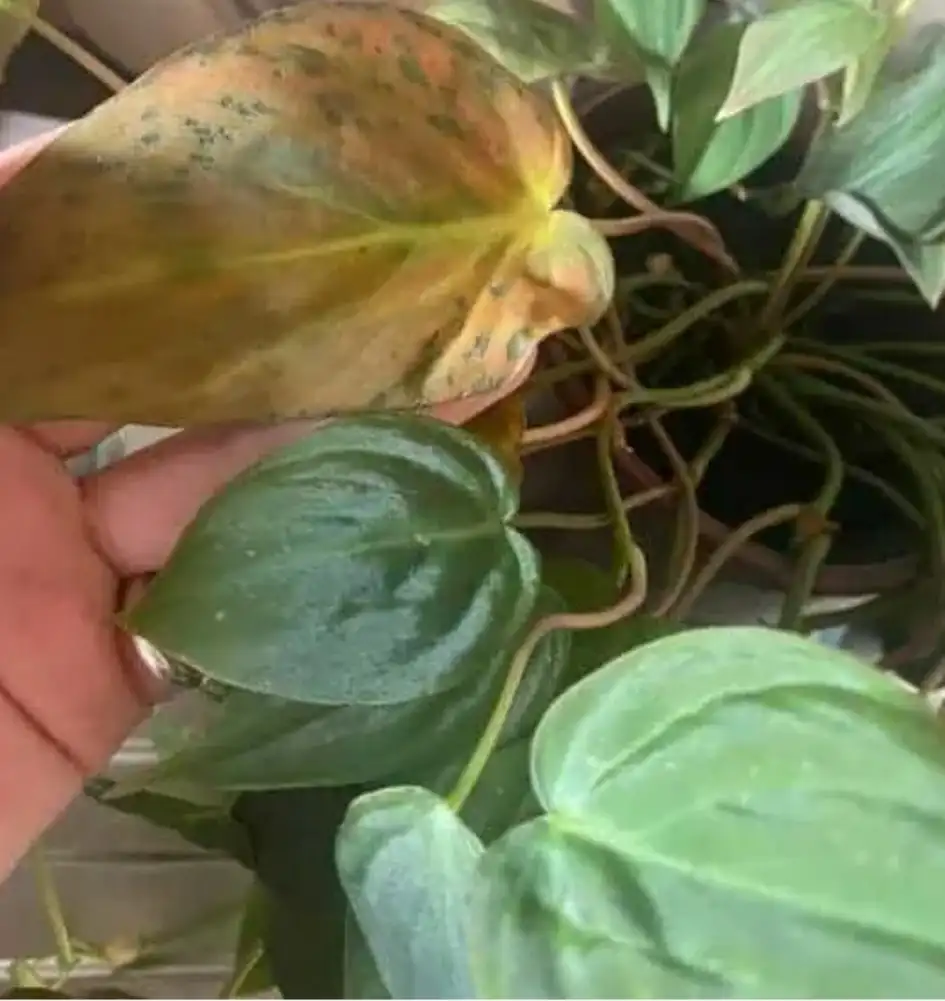
Over-watering or, under-watering causes inward leaf curling in philo birkin plant. Because of overwatering, the roots get damaged and are unable to absorb water or, fertilizer. So, the leaves start to curl due to a lack of nutrients and water.
Again, the leaves try to reduce the surface area to reduce excessive water transpiration and cause leaf curling. Chronic dehydration can cause heavy curling and harm the plant as well.
How to fix it
- In case of, overwatering, clean the roots and remove any brown, soft and dead roots. Then disinsect with 1:3 hydrogen peroxide and water and repot the birkin plant. The new pot should have a good drainage system.
- Agin in the case of underwatering, allow the top layer of soil to dry out and then insert your finger an inch into it to check if the soil has enough moisture. If you find it dry, then water the plant a little more.
- Remember, If your birkin plant is in bright light and warm environment or, hanging, then it needs water more often than in a cooler place or, on the table.
Temperature stress
The high temperature causes the birkin plant to lose more water and causes curling of the leaves.
Again, the too-cold temperature freezes some cells of the leaves and destroys the cell membrane. As a result, the leaves start to curl inward.
How to fix it
- You have to keep the pant at around 15°C to 30°C during the day.
- In winter, place the plant inside the house and don’t place it near the window at night.
- If the curling has just begun due to the cold temperature, place the plant in the warmest place in your room and it will start to uncurl again in no time.
- Remove the excess curled leaves and keep them away from the heater or, air cooler.
Water quality
Tap water contains minerals such as salts, chlorine, etc. Nutrients become unavailable to the root as a result of salt buildup. This can cause the birkin leaves to curl and brown.
Cold water can also damage roots that cause leaf curl.
How to fix it
- Use filtered water to avoid salt buildup or, mineral buildup in the roots.
- If you don’t have a water filtration system, you can reduce the chlorine content of the water by leaving it in a container overnight.
- Supply lukewarm water. For that, fill a watering container with water and leave it at room temperature for two days.
Poor soil quality
The philodendron birkin leaves get curled because of the type of soil in which it grows. Poor quality of soil with a lack of drainage system and permeability damages the root rot and leaf cells and causes the leaf curling.

How to fix it
- Remove the philodendron birkin plant from the poor soil and keep it in well-drained and permeable soil.
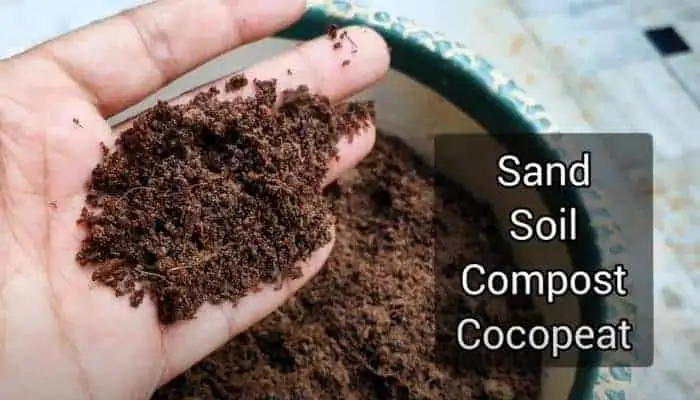
- Include peat moss, perlite, coconut fiber, etc. into the soil to make a good potting mix to stop and treat leaf curling.
- Use organic composts for good water retention, aeration, and drainage.
Lack of nutrition
High pH in the soil can cause nutrient deficiencies. Among them, nitrogen deficiency is a common nutrient deficiency that can cause the plant’s leaves to curl. Because nitrogen is essential to produce chlorophyll in leaves.
Again phosphorus deficiency can also cause leaves to curl downwards.

How to fix it
- Keep the pH level of the birkin plant between about 4 to 6. You can test the soil with a pH tester available on the market.
- Add some organic compost to provide nutrients and moisture to the soil.
- You can use urea or ammonium sulfate which contains high-nitrogen fertilizers to provide sufficient nitrogen.
Overfeeding with fertilizer
Too much fertilizer can also damage the leaf cells which causes inward leaf curling and brown spots. If it causes curling for a long time, the leaves will eventually fall off.
How to fix it
- You must reduce your fertilizer application.
- Again if the fertilizer is slow-release, you must re-pot the plant.
- In the case of spring, you should fertilize only monthly, and during winter, you have to fertilize every 4-6 weeks.
- Apply organic compost instead of fertilizer.
Unmaintained light exposure
As philo birkin is a tropical plant, it likes a shady environment more. Excessive light exposure dehydrates the plant that causes the leaf to curl.
Again insufficient light exposure also causes it to become leggy and its smaller leaves start to curl and fade away.
How to fix it
- Keep your birkin plant in a shaded area away from direct sunlight, but with enough natural light.
- Check whether the plant is getting enough sunlight each day.
- Keep it in a bright room in the winter.
- Keep dusting off the leaves as the dirt can clog their pores and impair the oxygen absorption and light that causes leaf curling.
Insect infestation and fungal diseases
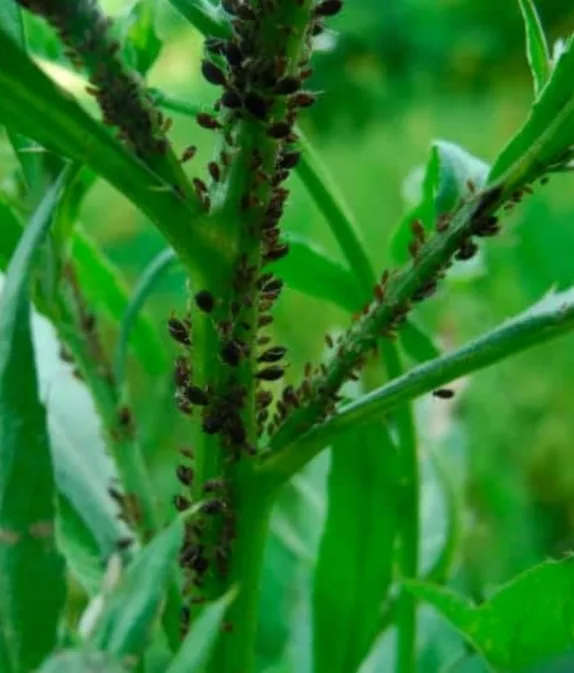
in the case of insect infestation, philodendron birkin is not prone to insects generally. But they are still susceptible to certain insects such as aphids, mealybugs, whiteflies, etc. They suck the juice from the leaves and sometimes inject some toxins into the plant and cause curling.
Again, in the case of fungal diseases, a wet and high-humidity (more than 70%) environment promote fungal diseases. Powdery mildew is a common fungus that causes upward curling. They destroy the xylem tissue that transports water and nutrients.

How to fix it
- Apply horticultural oils, and neem oil as they are effective and non-toxic.
- Use systemic insecticide mixed with water to kill the insects that cause leaf curling.
- Keep the place clean and dry to avoid fungal diseases.
Is it possible to make the curled philodendron birkin leaf uncurl?
Yes, it is possible to uncurl the curled birkin leaf in the initial stage of curling. If the curling is caused due to nature, then just move your philo birkin plant to a warm place and it will begin to uncurl gradually.
But if the curling is caused due to any pests or, insects attacking, the leaves can not be uncurled. You can not cure or, treat them. The infected leaves should be removed from the plant and disposed them to keep the uninfected leaves healthy.
How to prevent the birkin leaves from curling
We assure you that your philodendron birkin leaves will be back to normal if you follow the remedies carefully. But you can prevent this leaf from curling if you follow some steps from the beginning. They are-
- Maintain the watering schedule. water the plant regularly with filtered water to keep the soil moist.
- Avoid over-watering or, under-watering from the beginning.
- Ensure the proper drainage system in the soil.
- A lot of indirect light has to be ensured. To do so, one can ensure proper lighting with an artificial lighting system.
- During the growing season, fertilize the plant with proper fertilizer.
- Repot the plant if the plant becomes larger than the pot when growing.
- Supply good quality soil in it.
- Temperature should not be too much hot or, too cold.
- Check your birkin plant from time to time whether any pests or, insects are attacking or not and cure accordingly.
How to take care of the philodendron birkin
Philodendron birkin is easy to grow and care for. It doesn’t need any special care.
a) Soil and fertilize: Philodendron birkin prefers moist soil which drains well. A standard potting mix with perlite is a good option. Some organic compost can be mixed into the soil as fertilizer which helps to retain moisture. You can fertilize every 2-4 weeks in the spring and winter seasons. This also prevents the soil from compacting too much.
b) Water: The soil given in the pot retains moisture but dries out between watering. This birkin plant can tolerate drought more than over-watering. So you can water once a week. But if the top inch of soil feels dry, then water immediately.
c) Light: Too much direct sunlight may create a sunburn effect on the birkin leaves. Again, too little sunlight may fade the green leaves. So, indirect sunlight for 12 hours a day is enough to grow without sunburn. So, you can place the plant near a window.
Again as these birkin plants also don’t like low light, an artificial lighting system can be done.
d) Potting and repotting: The pot should be larger than the plant with a good drainage system. But as this is quite a fast-growing plant, it should not be kept in the same pot for more than two years.
The best time to repot the plant is once a year. The new pot should be 3-5 cm larger than before when repotting with the drainage holes. This will give space to grow.
e) Temperature: As the birkin is a tropical plant, a good temperature for it is around 18°C to 30°C. It should not be lower than 13°C. Keep it away from any strong wind.
Final thoughts
As you already know, there are several reasons for philodendron birkin leaf curling, now you can easily find the cause and fix the problem with simple solutions.
- Avoid over-watering or, under-watering.
- Ensure indirect light exposure.
- Avoid excessive heat or cold temperatures.
- Don’t overfeed with fertilizers.
- Pot should have a good drainage system.
It is important to act the right way as if the problem becomes severe such as overwatering, dehydration, fungal diseases, and insect infestation, you may not be able to save your birkin plant. Again, you don’t have to worry as with the solution we have shared above, you can be able to get back your philodendron birkin healthy soon.